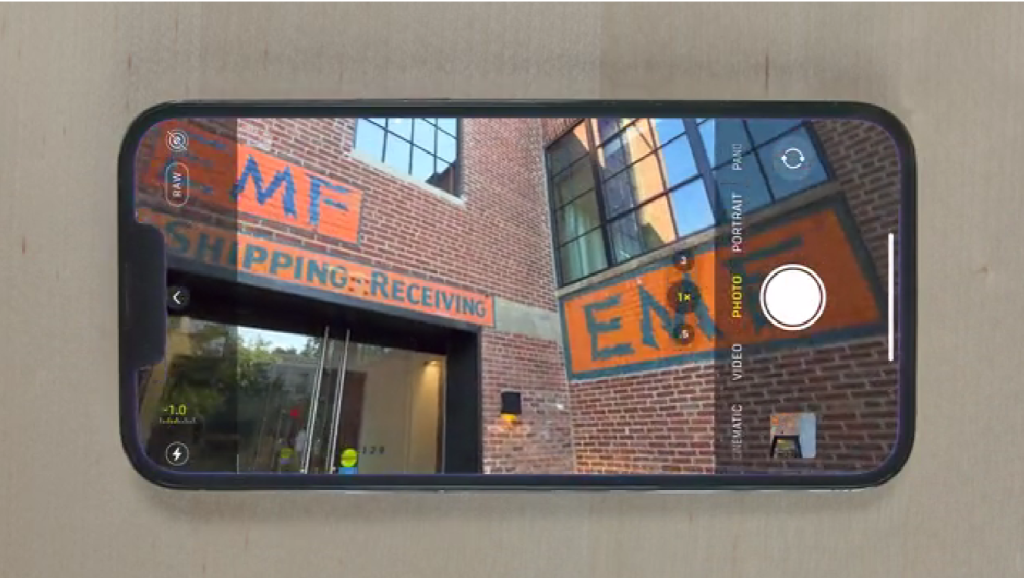
The iPhone phone has one of the best cameras for producing video content, and you can enjoy higher-quality video recording with a few minor changes in the settings.
In MyAdviseNow articles, we often mention that you will not need a professional camera and expensive equipment to start YouTube because your mobile phones have high quality. If your phone is an iPhone, you can quickly achieve high quality with the correct settings. Experience while recording video.
In this article, we will go through the best iPhone settings step by step and teach you how to record better-quality videos and use them for your YouTube.
The best iPhone camera settings | The best settings for recording video with iPhone
The iPhone phone has one of the best cameras for producing video content, and you can enjoy higher-quality video recording with a few minor changes in the settings.
In MyAdviseNow articles, we often mention that you will not need a professional camera and expensive equipment to start YouTube because, nowadays, your mobile phones have high quality. If your phone is an iPhone, you can quickly achieve high quality with the correct settings. Experience while recording video.
In this article, we will go through the best iPhone settings step by step and teach you how to record better-quality videos and use them for your YouTube.
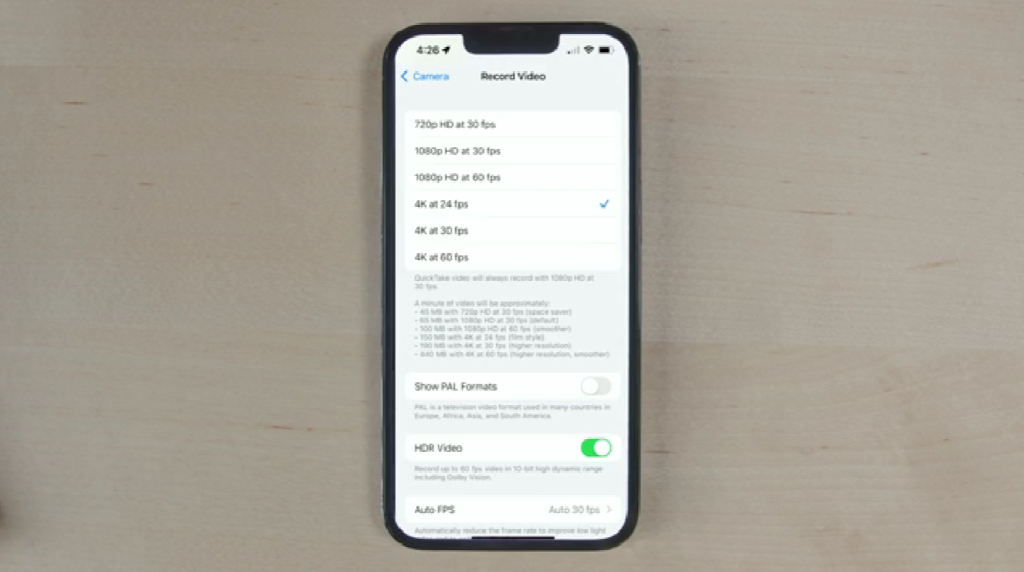
1. Set the quality to 4k
To have a higher quality when recording video, you must enter the “Record video” section.
If your phone supports this quality, set the settings to 4K resolution to record video with higher quality and details.
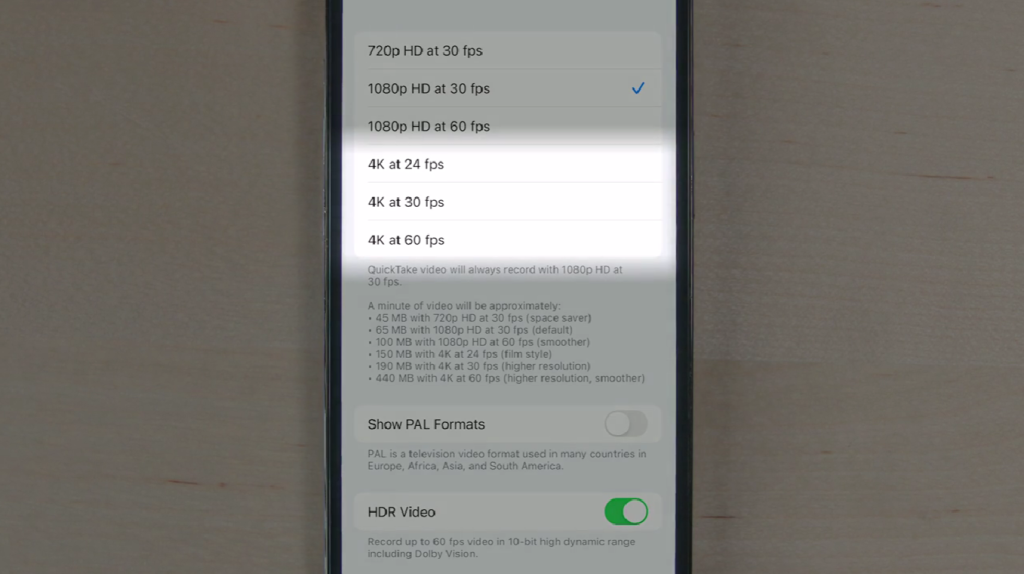
2. Record video at 24 frames per second
Frame per second is a rate that indicates the number of frames to images that your phone’s camera records in one second.
Thirty frames per second are the rate at which most televisions display images. Use Sixty frames per second when you want to use slow motion mode in your video editing and slow down a part of the video. You can also record 1080, 120, or even 240 frames-per-second videos with your phone—select “Record Slo-mo” from your phone’s camera settings.
The most optimal mode for taking photos with a phone is to use 24 frames per second, which gives your images a cinematic look.
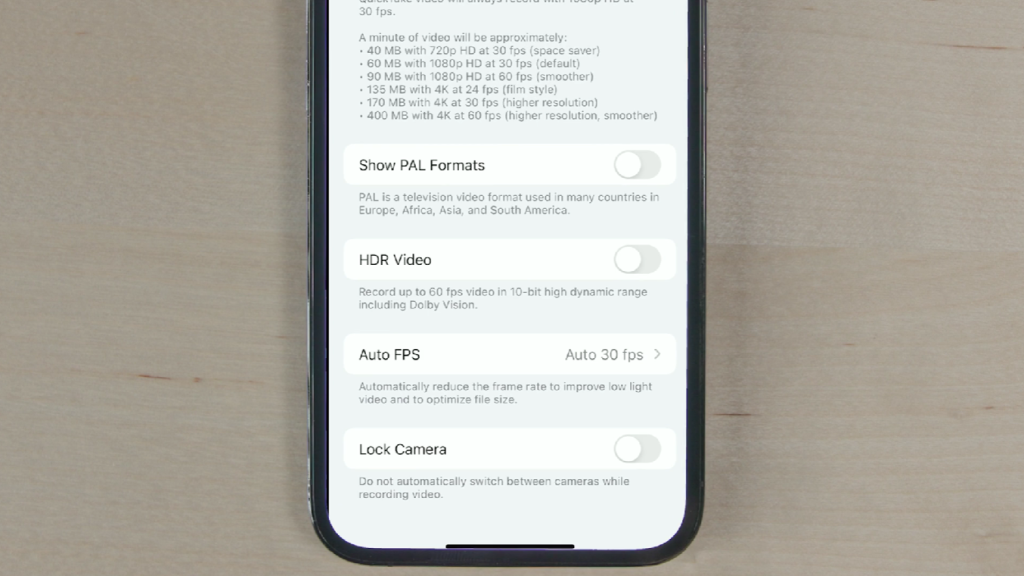
3. Turn off HDR Video.
When you are in the “Record Video” settings, if you scroll down a bit, you will see the HDR Video section, which you can disable. It will make your video colors more consistent when editing.
Experience also shows that the skin tone is slightly unnatural when you use the HDR feature when recording video.
Apple touts the HDR video recording feature from iPhone 12 Pro. Of course, you must notice that recording in this mode makes the images brighter, but users’ experience shows that this feature makes things more difficult when editing videos.
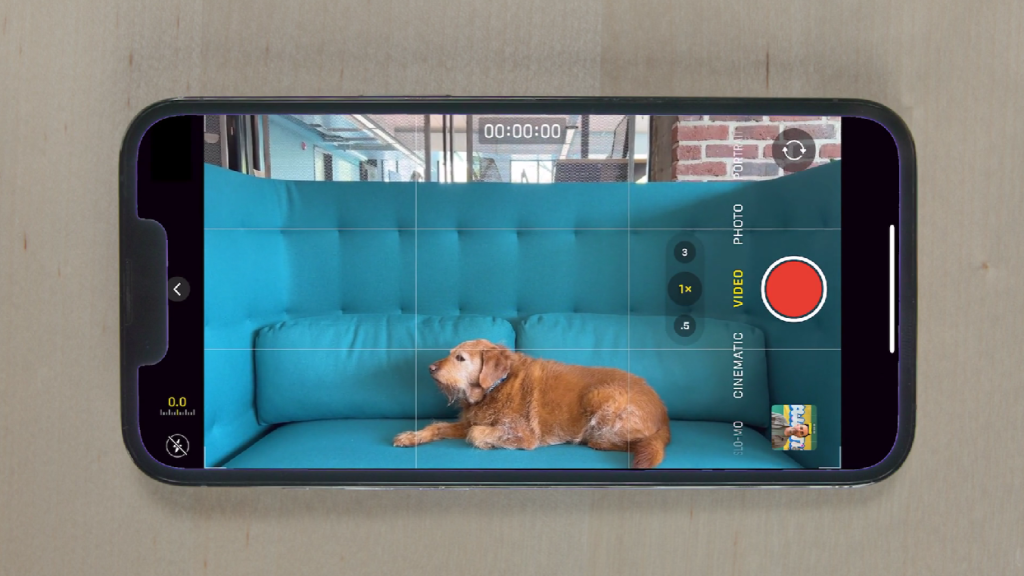
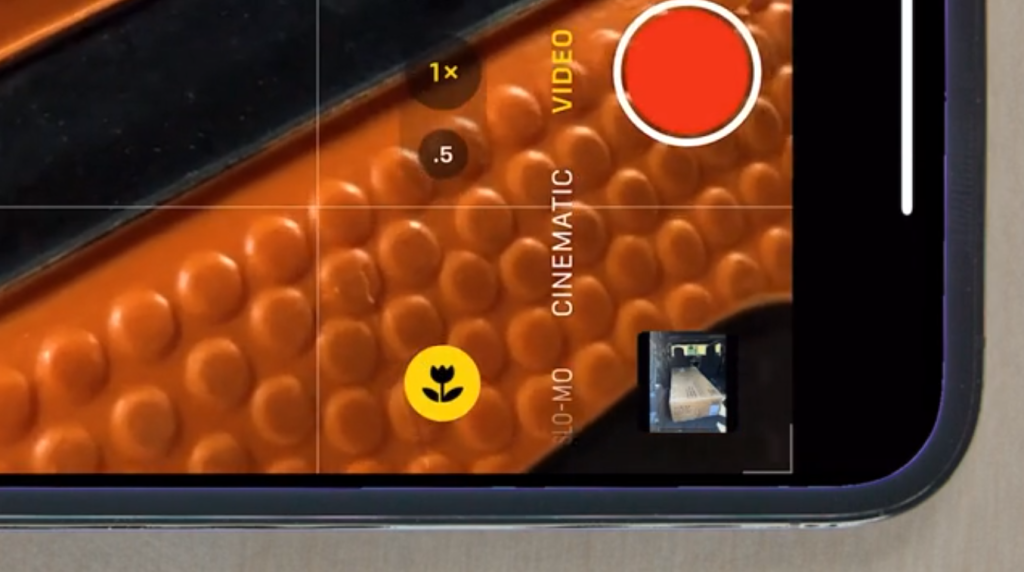
4. Enable Grid.
To activate the Grid, go back to your camera settings and enable “Grid.”
Activating this feature will help you to use the rule of thirds in taking pictures more efficiently and have better framing when taking pictures and recording videos.
5. Turn off the “View Outside Frame” feature.
In the default camera mode, iPhone phones display images outside the recording range.
It will only throw off your focus when framing. We recommend disabling this feature only to see the box you want to record.
6. Enable the “Macro Control” feature.
Finally, we suggest you activate the “Macro Control” feature from your phone’s settings. The macro feature lets you capture better images when you are close to your subject.
Enabling this feature allows you to control the macro mode manually. Usually, the iPhone does this automatically. Check if the feature is activated if you want to record better images. Of course, you should note that this feature exists in some Apple phones.
Record stunning videos with your phone
Was it simple? Just pick up your mobile phone and start recording. The video recording process is easier than you think.